In this article, I will show you how to make CYMK risograph separations for your 4 different color layers in Photoshop. Risograph printing is getting a lot of love these days and for good reason. Risograph printing or riso printing is a fast, easy, and relatively inexpensive way to create pamphlets, posters, and art prints. The prints that this machine spits out are perfectly imperfect and I enjoy with different printer ‘personalities.’ I have been making risograph prints for five years – primarily focused on reproducing my collages and illustration with a CYMK-like printing process.
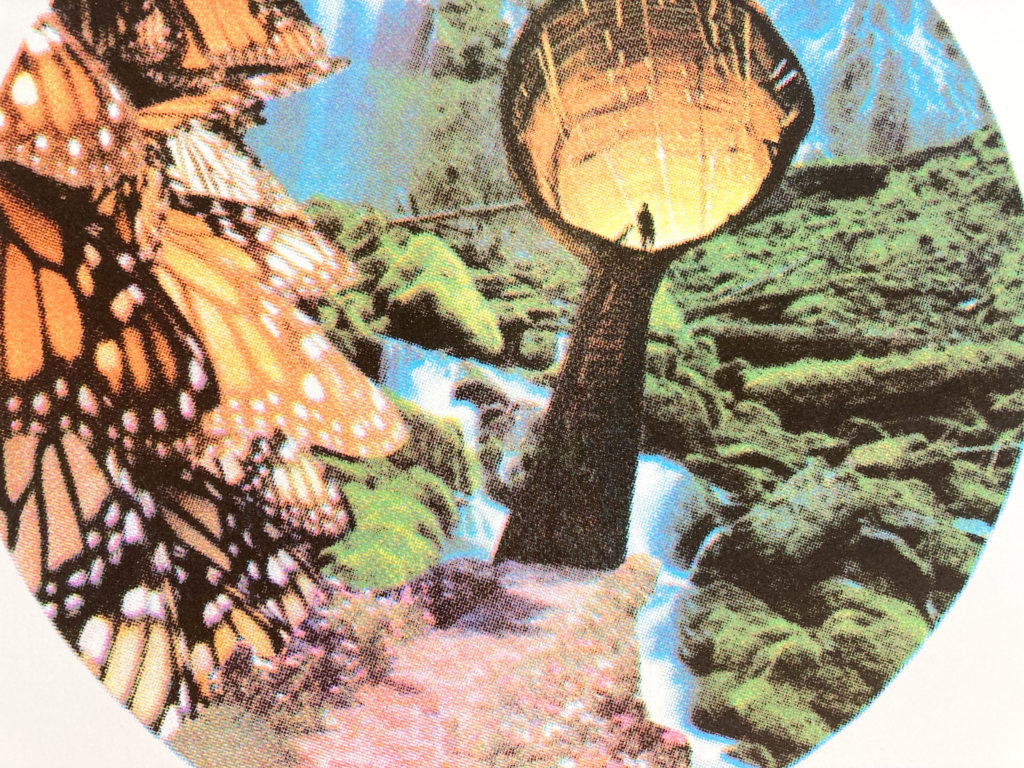
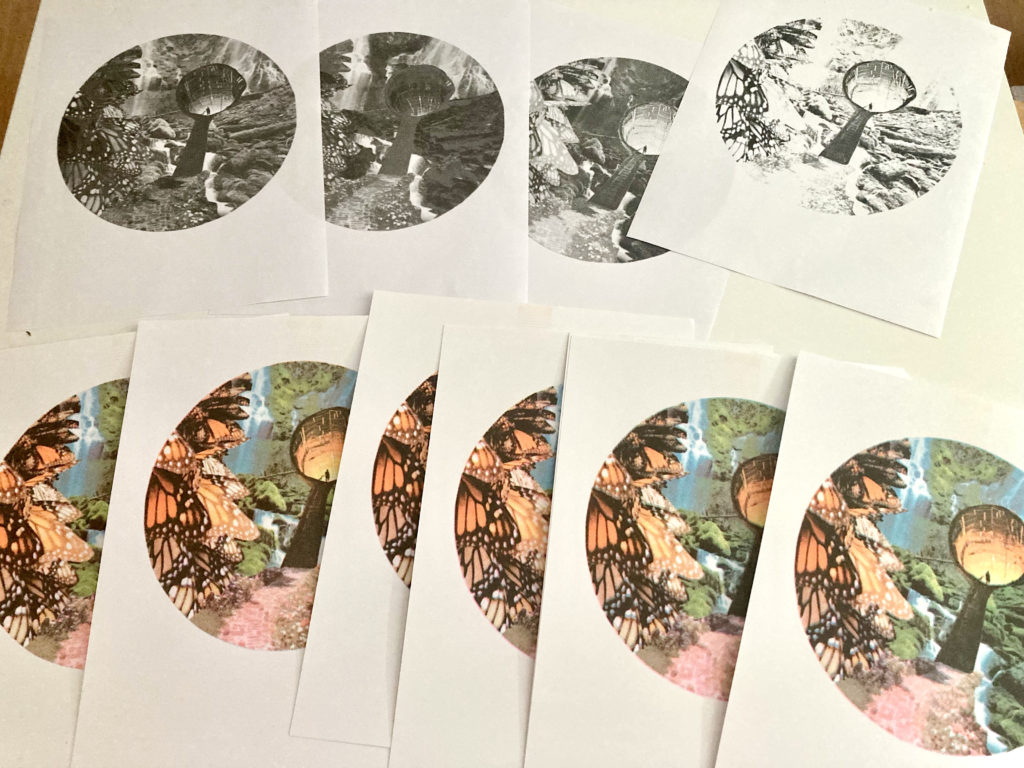
In the following article, I will show you how to make your color separations in Photoshop and work with your color layers to mimic CYMK printing. Just a quick disclaimer: there are infinite ways of working with the risograph printer and this is just one way to do so. I will show you how I made this 4-color risoprint:
If you are interested in purchasing this risograph print or any other artworks that I make, please see my two Etsy shops:
- InnerStellarArt – neuroscience inspired artwork
- TinyPinkShoe – risograph prints and pinback buttons
Risograph CYMK Printing Basics
Before we take a deep dive into creating the color separations, let’s establish some basic principles of riso printing:
- Risoprinting works with creating layers of colors, similar to screen printing
- By playing with these color layers, we can create the illusion of other colors (red + blue = purple, for example)
- Riso printing is an imperfect process because it is an analog machine (But this makes it fun, I swear!)
So, now that you have the basics, follow along to make our color separations.
How to Make your CYMK Risograph Separations
Step 1: Scan your Image
If you already have a digital file of your image or you are working with a digital illustration, you can skip to the next step. If not, follow these steps to scan a high resolution image of your photo or artwork:
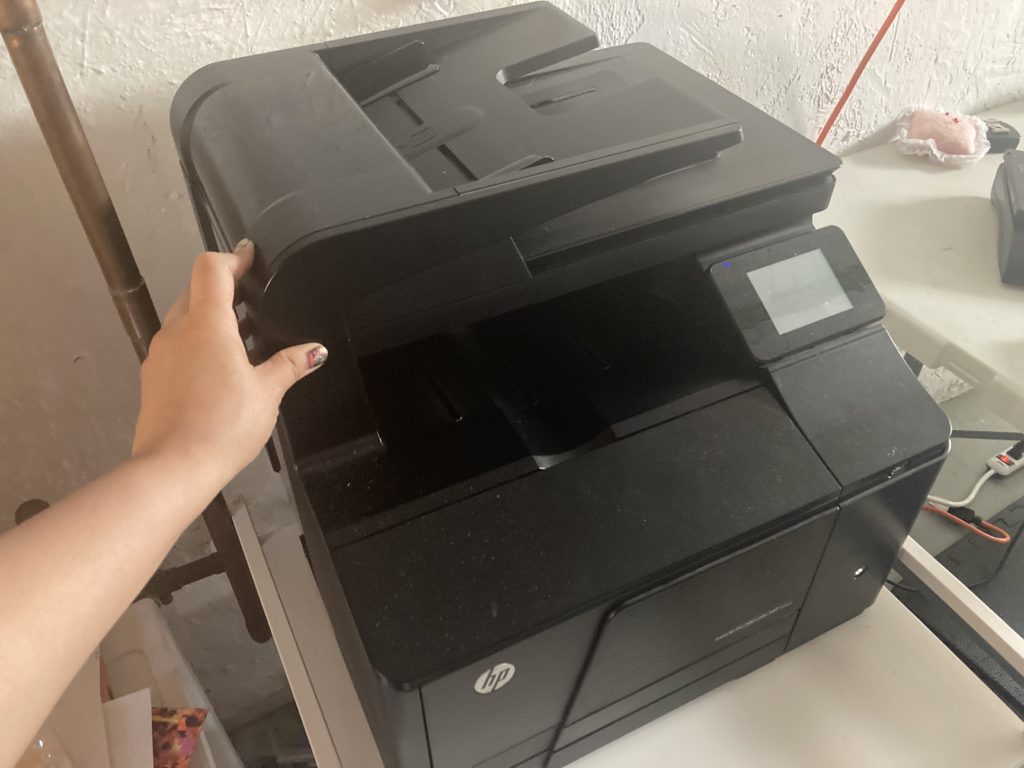
How to scan a high resolution images
Using a scanner is the quickest and most accurate way to digitally capture your image. Use these tips to ensure a high resolution image:
- Clean your photo or artwork off with with a microfiber cloth or alcohol-based cleaning wipe
- Unplug the power cord from your scanner
- Again, using a soft, lint-free cloth, like a microfiber cloth, wipe off the dust from the scanner glass
- Use a small amount of glass cleaner (like Windex) on a microfiber cloth for oil smudges and wipe the glass
- Dry off any remaining moisture with a dry microfiber cloth
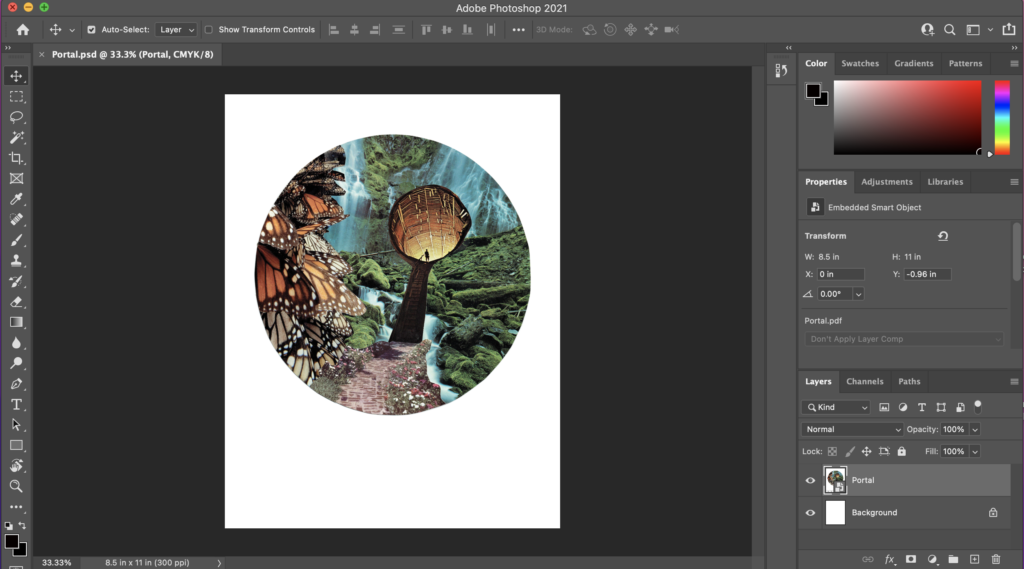
Step 2: Open your image in Photoshop
You can do this process in other image processing programs, however Photoshop works the best for me. So, that is what I will use moving forward. Please comment if you’ve used other imaging software to make these color separations.
Make sure that your image is in CYMK mode. To make sure that it is, go to Mode > CYMK
Step 3: Adjust your Image
Now that you have a digital version of you image, open it up in Photoshop. When I write this I mean that you will need to adjust your I create risograph prints based on my collages and illustrations. So before you do the following steps
- Adjust your image to the paper size that you will print on (I usually work with standard sizes: Letter (8.5″ x 11″), Legal (8.5″ x 14), and 11″ x 17″) )
- Adjust color, saturation, hue etc to your liking
This is how I usually adjust the colors of my photos and collages once I’ve scanned them:
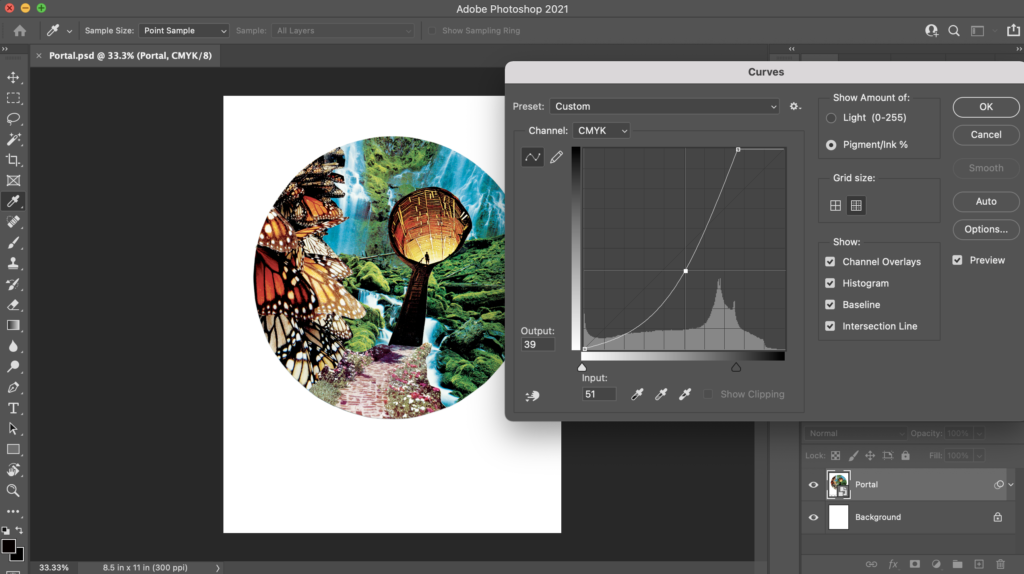
- Adjust curves: Image > Adjustments > Curves (on Mac it’s ⌘M). I adjust the curves so that the blacks are darker and the lights are lighter
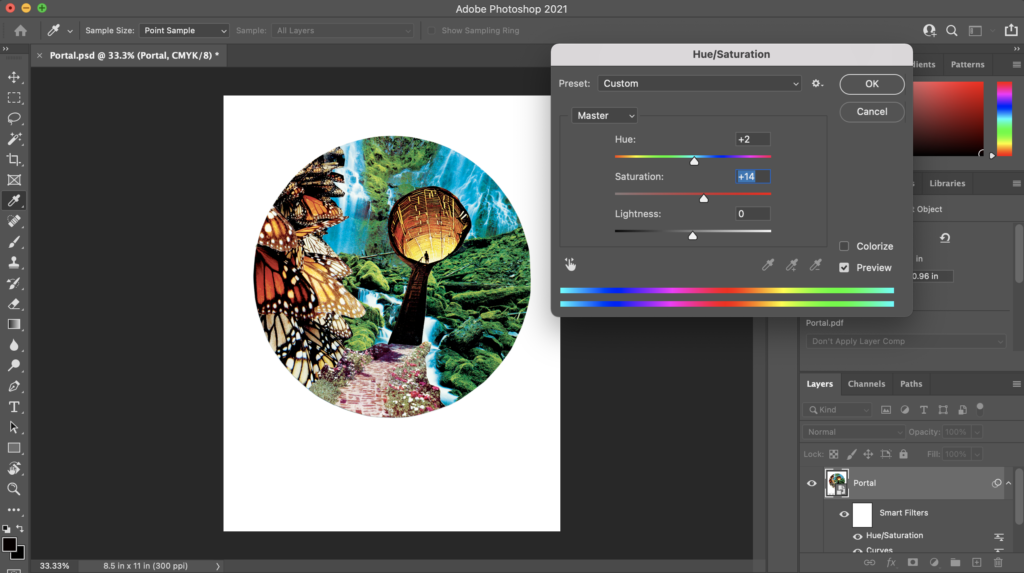
- Increase saturation: Image > Adjustments > Hue/Saturation. I am a sucker for colorful and vibrant images so this is a must for me, but you can adjust to your liking
Step 4: Save your Image and Create a Duplicate
This is a step that I wish someone would have told me about before I made my risograph CYMK color separations. This is very important because once you split the channels (which we will get into later) you cannot go back and ‘unsplit’ them
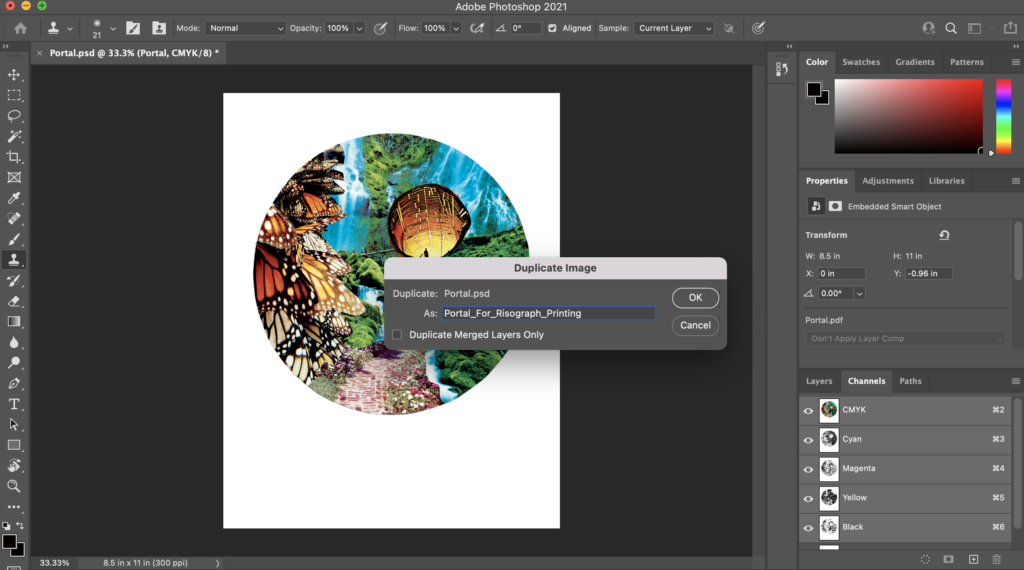
So once you have adjusted your image as you see fit to the paper size and colors that you like, go ahead and create a duplicate of your image and label it to distinguish from your original image. Something like Portal-for-risograph-printing
Here’s how you can easily create a duplicate image in Photoshop: Image > Duplicate
And now that we’re on the topic of saving your work, please take care to save early and often. Some redundancy in your file create is okay!
STEP 5: Split CYMK Channels
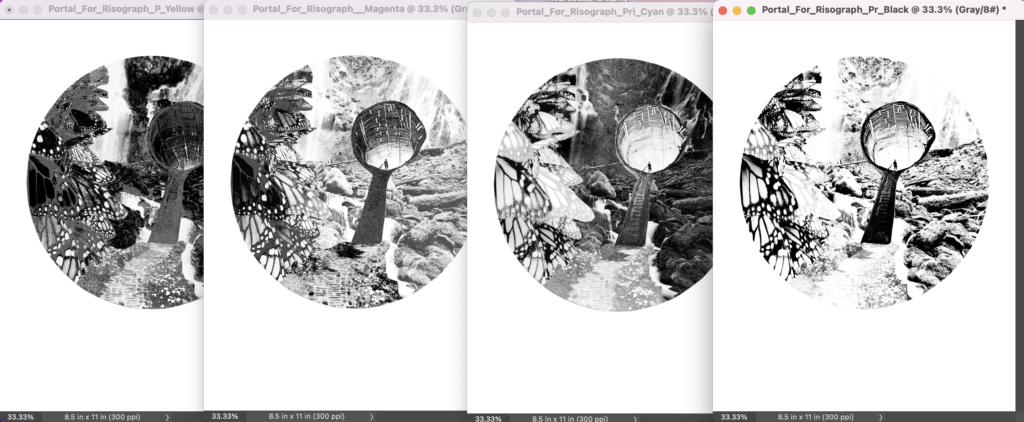
This is the part that you will officially create your CYMK risograph separations. If you don’t have the channels window pulled up, go to Window > Channels and you should see a box that looks like this:
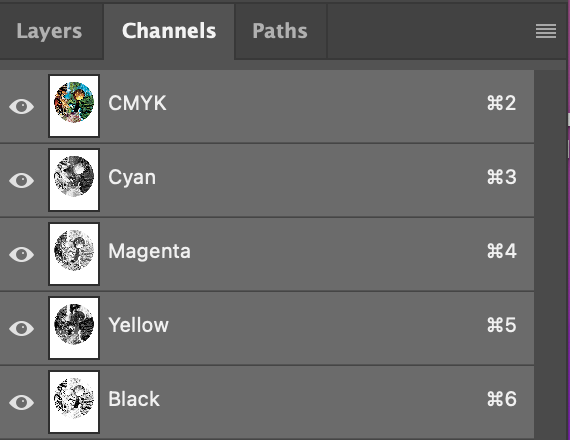
You can see how the top image shows the image with all CYMK elements together and the layers underneath include what layers are Cyan, Magenta, Yellow, and Black.
Next, click the little hamburger button to the left of the channels section and click Split Channels
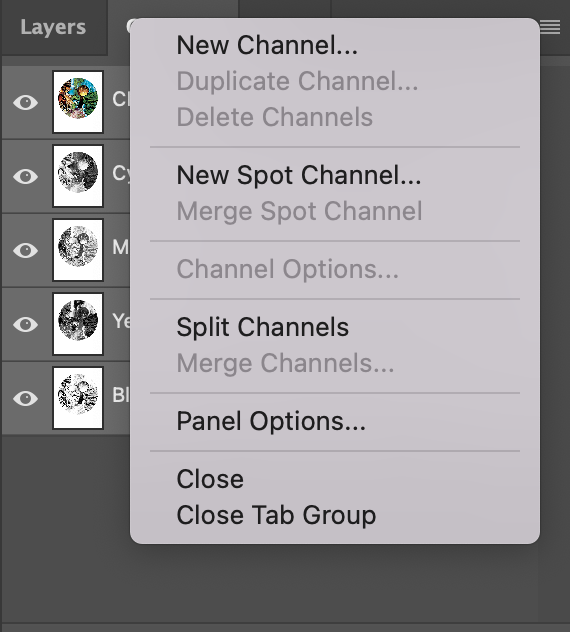
If this option is grayed out for you and you can’t select ‘Split Channels’, make sure to flatten your layers by going to the Layer Tab > click hamburger icon to the left of the Layers section and click ‘Flatten Layers’. This should solve this problem.
You should now have 4 different documents that were created from your color image. These images will be in black and white, which will be perfect to mimic CYMK risograph colors. These are the CYMK risograph separations that you will work with when you are printing.
Step 6: Adjust B/W Images to Create Contrast
This part requires more artistry than science or technical knowledge. But I will say this, risograph machines love high contrast images because it helps them understand what to and what not to print color on. This part of the tutorial will require some patience and experimentation on your end to understand how the colors meld to create gradations and depth of color in your original images. In essence, you will have to use your intuition and your own experience with your risograph printer.
That being said, I try to avoid too much gray in my images and try to create areas of high contrast in these masters. To stay true to your original image, you will need to balance between create a higher contrast master and understanding the intricacies of your risograph machine. These are some tips that I recommend for anyone starting out.
- Use the curves tool (⌘M) to create lighter and darker spots
- For the Magenta and especially Yellow documents, it’s okay if it looks really dark. Remember that the black in these images will eventually be printed in Yellow and Fluorescent Pink
- For the Black layer, I tend to lighten up the master because I’ve found that my risograph machine prints very juicy black layers
Step 7: Create Bitmap Images of your Color Layers
This step is essential to creating a great final master to give to your risograph printer. In it’s simplest form, a bitmap image is an image that contains only two colors: black and white – which risograph printers love. Grays confuse the hell out of risograph printers, but making bitmap images to create the illusion of grays in the perfect way to get around this unique kink of the risograph printer.
Let’s take a look at the bottom image.
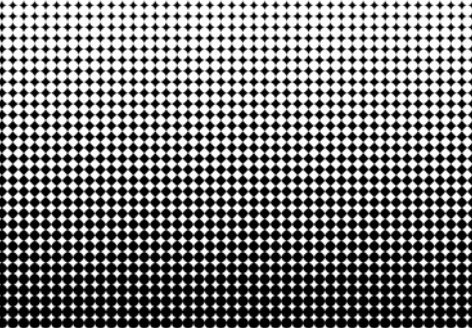
If we zoom out, we see a gradient of black on the bottom turning to a gray on top, but if we zoom into the image, we can see that there is no gradient and that there are just a collection of black and white dots that create that illusion. Photoshop makes it easy to convert black and white grayscale images to bitmap images.
Let’s give it a try.
Once you have your grayscale images adjusted as you see fit, go to Image > Bitmap, you will get several options about how you want your bitmaps created but for the sake of this tutorial, please click Halftone Screen > Frequency: 53, Angle: 45 degrees, and Shape: Round. You can play around with these setting more as you get more comfortable with using this process. However, these specs are what I’ve found do the best job of replicating risograph CYMK.

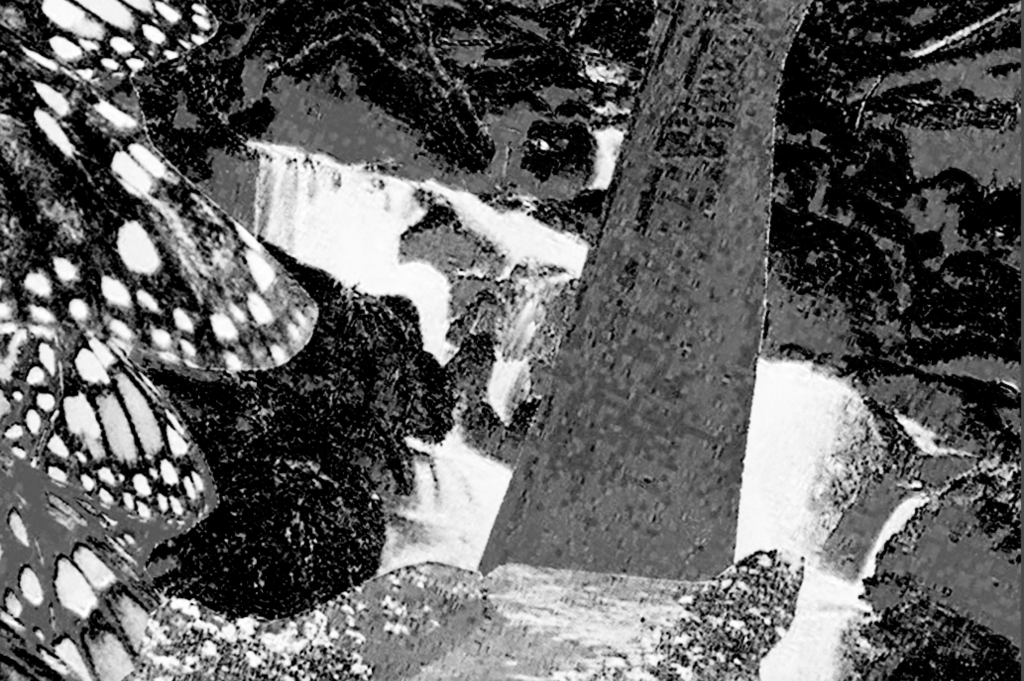
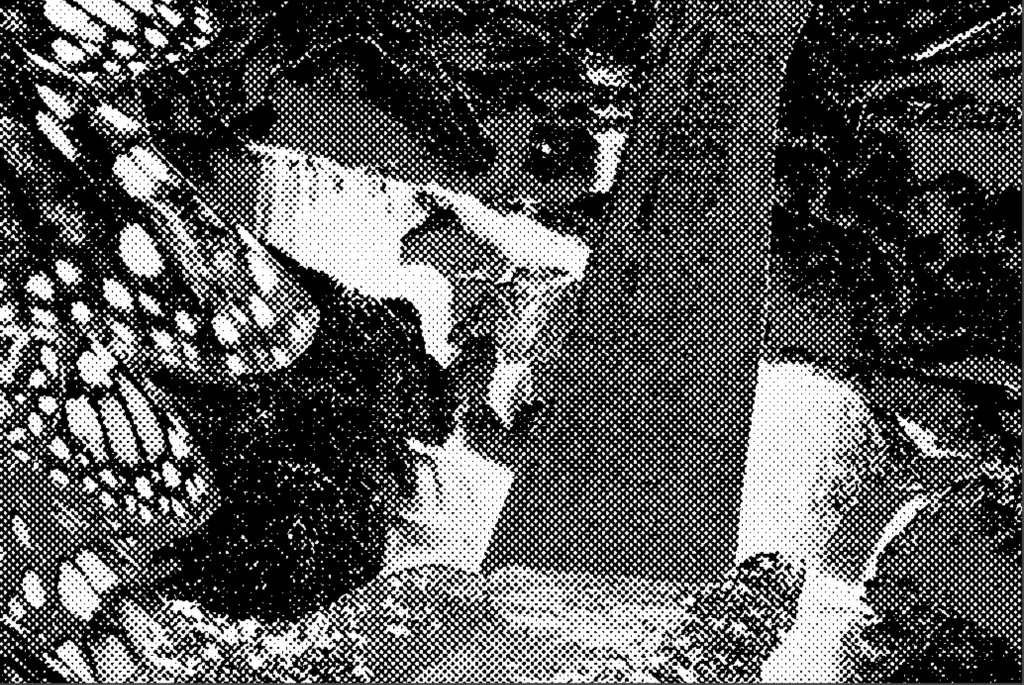
Now that you have created the bitmap images of each of your layers, you should see the difference in them when you zoom in. Notice that the grays in image on the left (grayscale) are different shades of gray, whereas the image on the right (bitmap) the grays are created from varying sizes of black and white dots.
Boom, now you’ve done the hard work of creating the masters that you will bring to your risograph printer. Print these bad boys out and label each master with the associated color. You wouldn’t want to bring the yellow layer in black!
Step 8: Print with Risograph CYMK Ink Colors
When you bring your four beautiful masters (labeled with the corresponding colors, of course) to your risograph printer, you will notice that there are similar ink colors to the CYMK printing process like Yellow and Black. However, there is no Cyan or Magenta to be found! This is where this risograph CYMK Cheat will help you.
Risograph CYMK Cheat Sheet
| CYMK Colors | Corresponding Risograph Ink Colors |
| Cyan (C) | Aqua Blue |
| Yellow (Y) | Yellow |
| Magenta (M) | Fluorescent Pink |
| Black (K) | Black |
Remember that the order in which you print these layers is also very important. You will want to start with the lightest color and layer on top the next lightest layer. So when you are printing, you will want to follow this order:
- Yellow
- Fluorescent Pink
- Aqua Blue
- Black
Check out this video of me using the separations to print out my finished print. FYI, this is a different set of prints, but the process is still the same:
If your layers are very saturated, you may want to wait about half an hour between color layers to avoid any color streaks. If you live in a hot, dry area, consider yourself lucky because you may not have to wait very long between your layers. However, if you live in a cold and wet place (like Portland, Oregon in the winter) you may find that you need to way up to an hour between color layers. Some people swear by hairdryers to expedite this drying process.
Step 9: Celebrate your Risograph Print
And there you have it! You have made your CYMK risograph separations for your artwork! Risograph is not easy, but once you get the hang of it, it is so much fun. Give yourself a pat on the back for making your first four color risograph print.
If you’re interested in purchasing this risograph print or any others, please visit my Etsy store. Have a great day and stay creative!