I have been making my fancy glitter pinback buttons for 5 years and I am at a point where I can share my secrets of how to make these celebrity-worshipping, glitter-loving pins for backpacks, shirts and jean jackets.
Pinback Buttons for Sale
Before we get into how I make these pinback buttons. I want to answer a common question.
Yes, my pinback buttons are for sale. I offer them at many locations in and around Portland, Oregon. If you would like to directly support my art practice, you can purchase my pinback buttons on my Etsy shop, TinyPinkShoe. All prices include shipping and I definitely throw in extra goodies for friends. Just let reach out! Please see these Oregon locations for where you can get my pinback buttons!
- Frock Boutique
- Flutter PDX
- Tender Loving Empire (all four locations)
- Take it Or Leave It
- Give and Take
You can also find these goodies at various Magic Boxes, located in and around Portland, Oregon. Please see this blog article to see a map of all the participating Magic Boxes.
Pinback Buttons Etsy
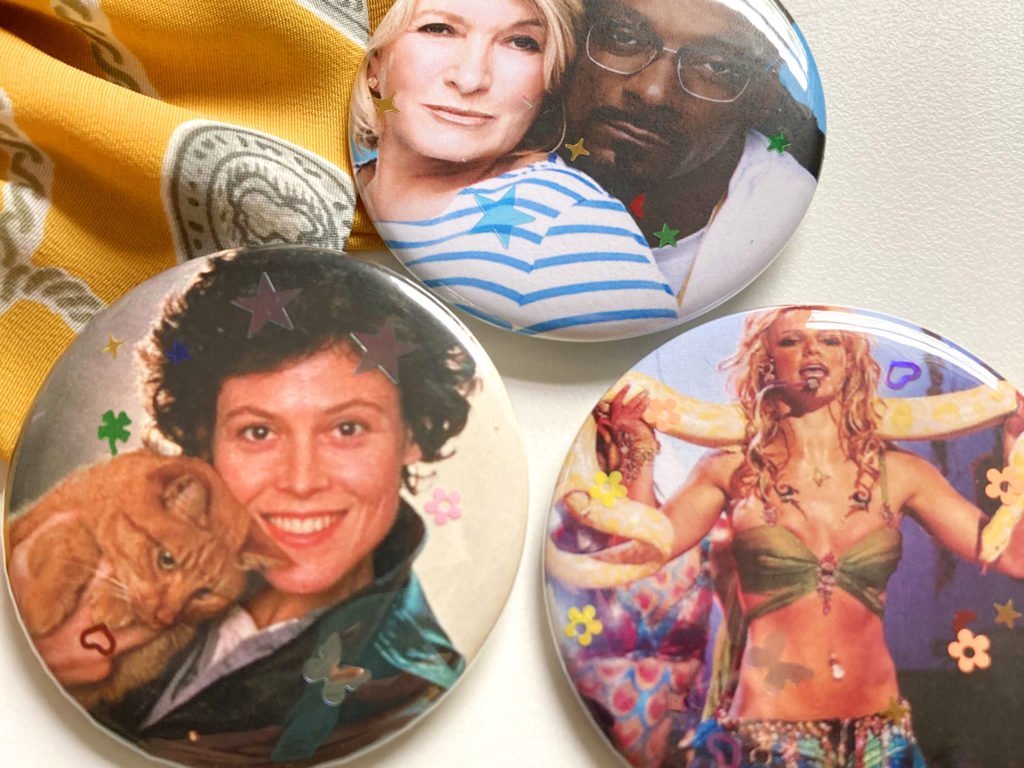
Etsy is my favorite platform to sell my glitter pinback buttons because I have such a great community of fans. My top 3 best selling pinback buttons on my Etsy shop, TinyPinkShoe, are:
1. Martha and Snoop Pinback Button

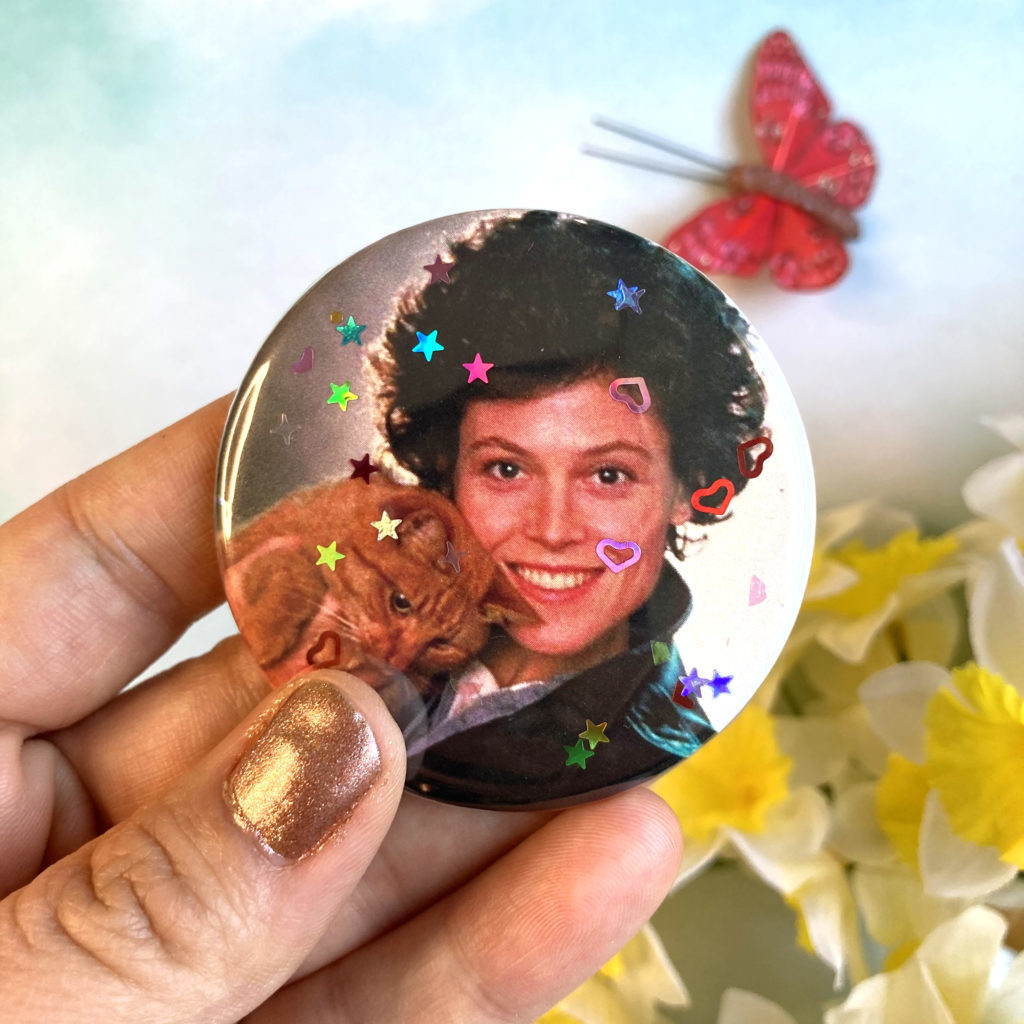
2. Ripley and Jonesy from Alien Movie Pin Button
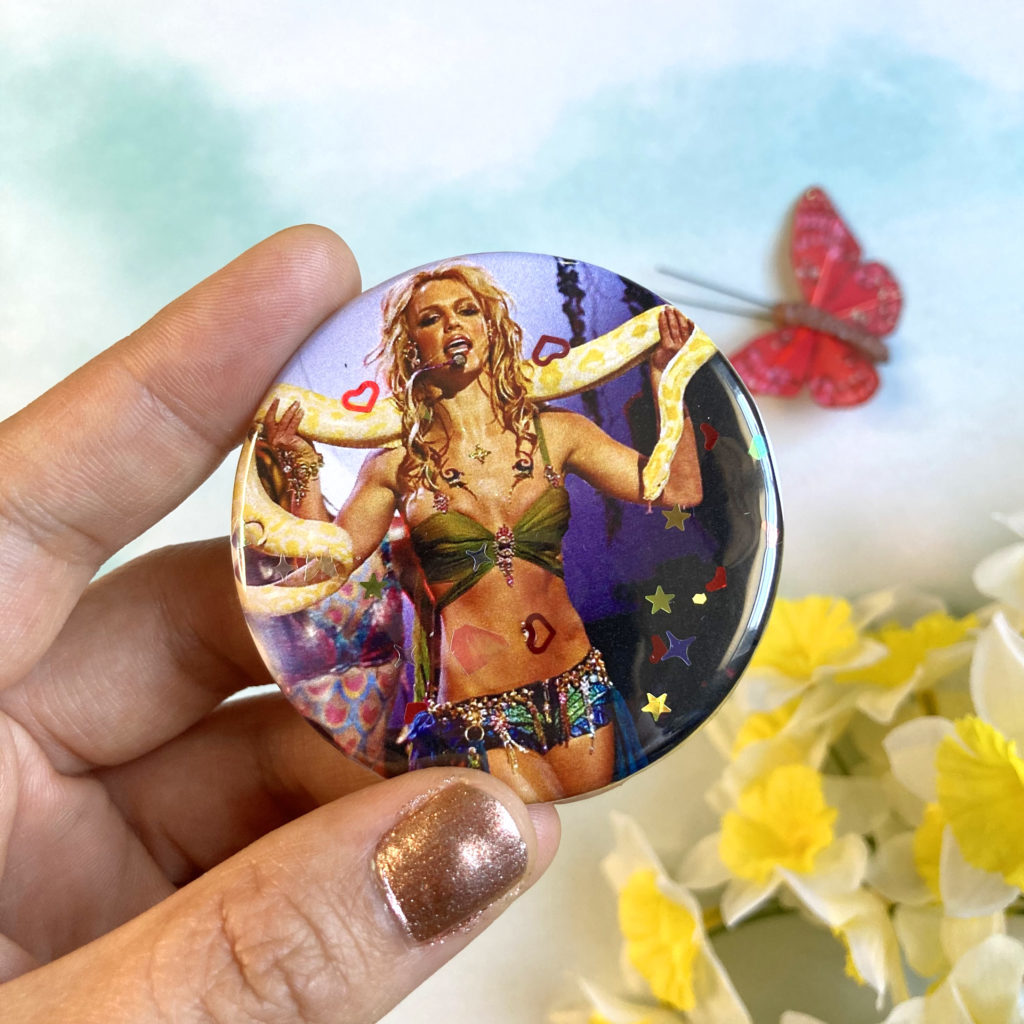
2. Britney Spears VMA Snake
How to Make Pinback Buttons
In the following section, I am going to go over exactly how I make my fancy glitter pinback buttons. I make these buttons with iconic celebrities images from Britney Spears’ VMA appearance with the python to the less polished images like sad Keanu Reeves sitting on a bench. What ever your ultimate goal with making your own pinback button let’s go over a few things you’ll need to get started:
- Button Maker: This is the exact one that I have
- Button making supplies:
- pinback
- shell
- mylar covering
- Your artwork
- Glitter
You can always make these buttons without glitter, but I find that the glitter is a nice touch. Follow along and learn how you can make your own glitter buttons.
Step 1: Get your Artwork for your Pinback Button
I usually scour the Internet for my favorite celebrity photos. That being said, there are some photos on the Internet that I try to stay away from because of copyright issues. For example, I’ve learned from experience that certain celebrities and their estates make it very difficult for average artists to use their celebrity faces. Here is a cheat sheet of the artists and celebrities that I have learned that have powerful copyright lawyers and estates behind them:
- Beyonce
- Price
- Frida Kahlo
- Kate Bush
- Danny DeVito (and all the Fox network actors)
Step 2: Format your Artwork for Pinback Button Making
Once you have found your artwork, you will need to make sure that it is properly formatted so that you can easily cut the artwork out for the button maker. Because I’m using a 2.25″ circular button maker for this tutorial, you will need to make sure you have the print specs.
I always use my home printer to print out the artwork and use traditional 8.5″ x 11″ computer paper. There are tons of templates out there for artwork, but here is how my artwork looks like for printing my Martha and Snoop pin.
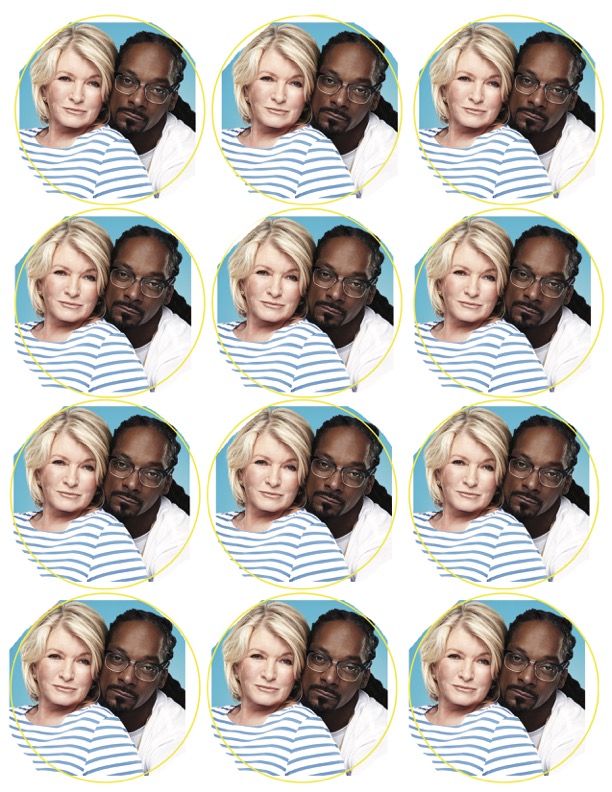
When formatting your artwork for making your buttons remember the following:
- Remember that outer edge of your artwork will not show up in the final pin because it will be folded over
- Keep all the important text, images, etc in the middle of the artwork
- Test your artwork in the button maker before you print a bunch of pages
Step 3: Print your Artwork
This part may seem easy, but there are some tips and tricks that you should know.
- Always make sure to print on the cheapest/thinest paper possible. Yes, that’s right, just use your boring old computer paper because thicker paper can jam the machine
- Take note of what kind of printer you’re using. Are you using inkjet or laser jet?
Step 4: Cut out your Artwork
For years, I cut out the circles of my artwork with just scissors. However, after years of doing this, I realized that it was hard on my hands and wrists to do such a repetitive motion. If you’re just making a few buttons, a pair of scissors will do fine, but if you want to make a lot of buttons, I suggest investing in a circle cutter.
Using a circle cutter is awesome for these two reasons:
- Accuracy
- Efficiency
Accuracy. So, when I cut the circles with scissors, the circles were imperfect. Most of the time, these imperfect circles worked alright in the button maker. However, if the circles were too imperfect, it could mess up the pin.
Efficiency: The circle cutter freed up a lot of time to focus on other important aspects of my business. To be honest, who wants be be cutting out circles all day? Also, you can stack two pages of artwork together to cut out two circles at the same time.
So, now that we have all the parts that we need to create a pinback button, let’s dive into how to create your pinback button.
Step 5: Insert the front shell
One reason why I love American Button Machines is because they have such a great collection of helpful videos to help you make your buttons. Please skip ahead to 1:21 to learn the correct method of layering the parts of your buttons.
When you insert the front shell, make sure that it is sharp side down and in the shallow die. Another important things to remember is to only use one shell. They easily stick to each other, but make sure you’re only using one because more than one can jam up your machine and that is no fun.
Step 6: Add your artwork, glitter, and mylar
Once you’ve inserted your single front shell, add the parts like this:
- Your graphics
- Glitter
- Clear, plastic mylar
Again it is important here to note that adding more than one graphic circle or clear plastic mylar can jam your button maker.
Not all glitter is the same, so here are my tips to creating a beautiful glitter detail in your pinback button.
- The thinner glitter, the better. This is because your mylar is going to have to fit tightly over your artwork and glitter
- Use nail glitter because it is very thin as to fit over nails. I love Starlightshine‘s glitter assortments
- Less glitter is better because too much glitter can cause the mylar to not correctly fit over the button shell
- Keep the glitter in the middle of the artwork and keep the glitter out from the edges of the artwork
Step 7: Swivel your die and pull the lever
This step is fairly easy, but if you do run into some issues with swiveling the die, use a little WD40 in the gears to make it rotate smoother.
Pull the lever and see your front shell, artwork, glitter, and mylar disappear into the machine.
Step 8: Add the pinback
Add the pinback, sharp side up into the deeper die. Then swivel again, pull the lever, swivel, and voilà, you have your pinaback button!
Pin Buttons for Backpacks, Shirts, and Jean Jackets
I used to go to Catholic schooland I remember the uniforms we had to wear were so DRAB! I would do what ever I could to jazz up my outfits – add patches, sew in extra pockets, add enamel pins…Anything to make my outfit unique to me. This is why I created these pin buttons – so that you can express yourself.
If you are interested in any of my pinback buttons for backpacks, pin buttons for shirts, or pin buttons for jacket, please see my Etsy shop where I sell a variety of Britney Spears buttons, Martha Stewart and Snoop Dogg Buttons, and even BTS buttons.