Risograph prints! It’s been a while, but after taking some time for myself and my family, I have finally been able to focus more of my time on creating these new riso prints. Motherhood is draining at times, however I’ve realized that making art fills my emotional cup!
I started risograph printing with Lemon Drop Press, (creator of Come Find Out)a small risograph press located out of my roommate’s garage on Oakland, CA. I fell in love with the process so that’s why I still make risograph prints today. In retrospect I think I fell in love with risograph printing for a few different reasons:
- the ability to work with a machine
- create colors and layers with out the fuss or precision required for screenprinting
Above all, risograph printing make it easy and accessible for me to make artwork again.
To purchase any and all of these riso prints, please visit my Etsy shop, TinyPinkShoe.
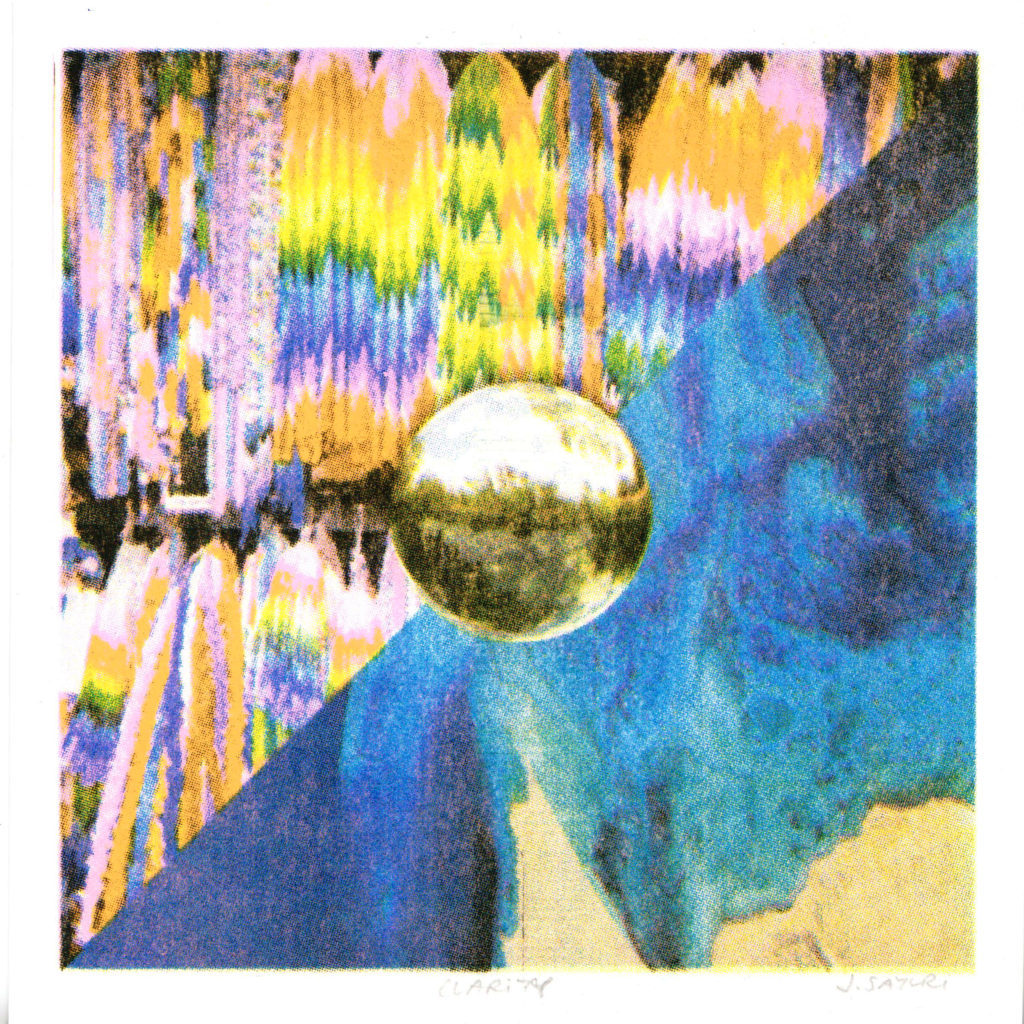
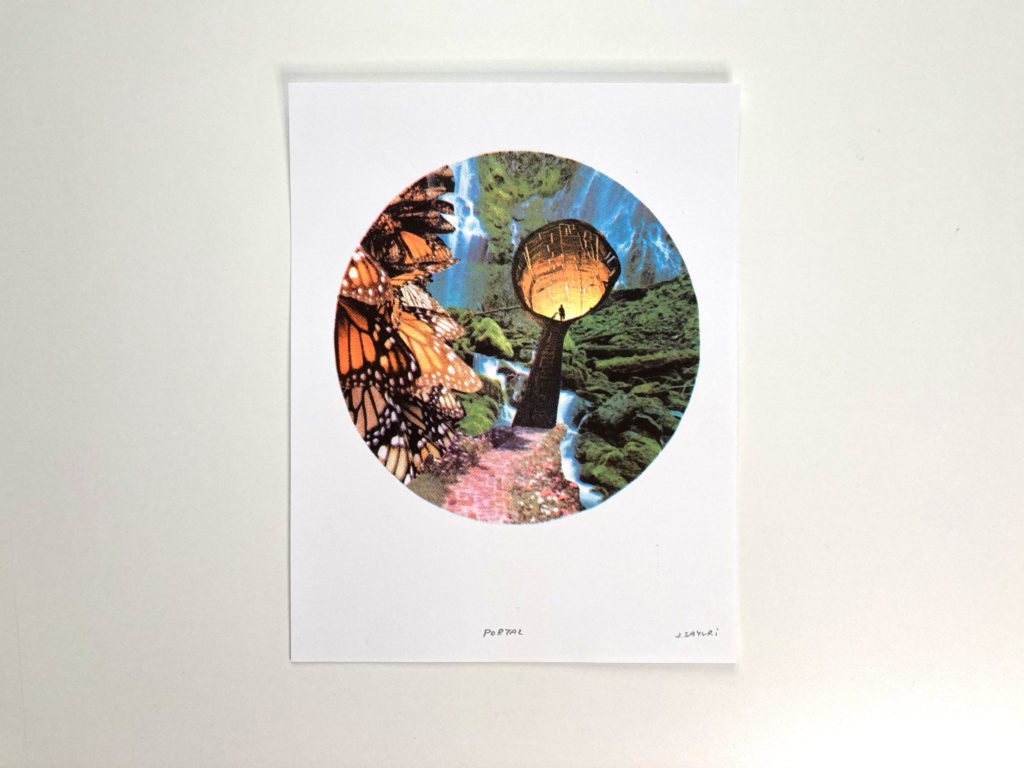
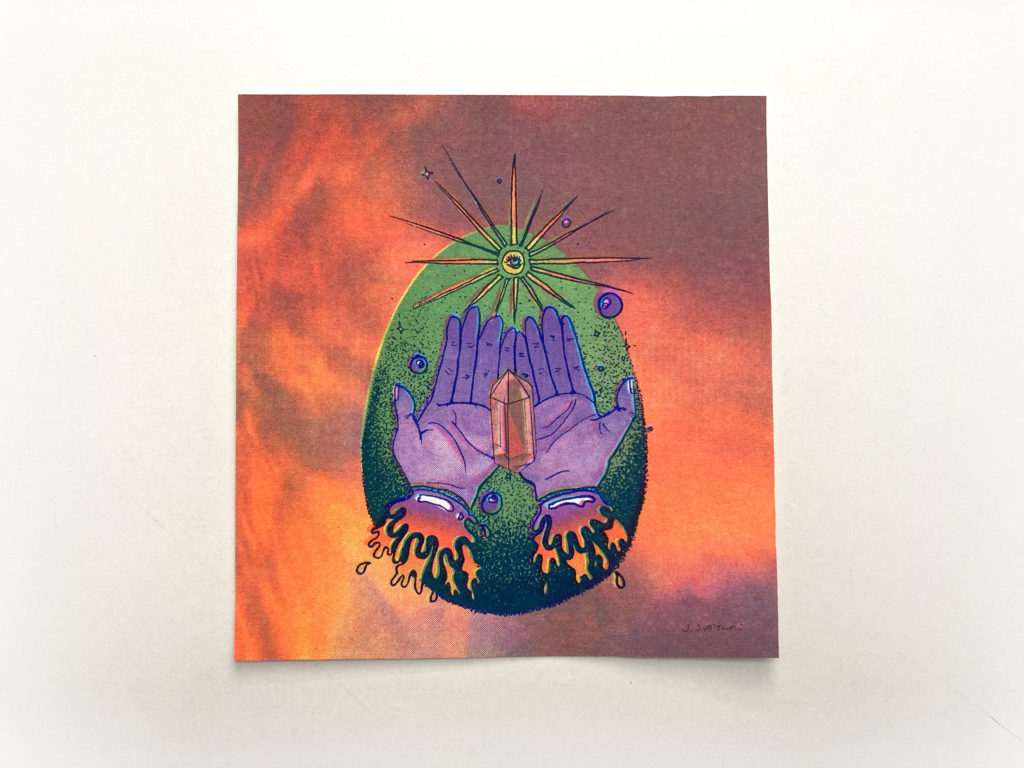
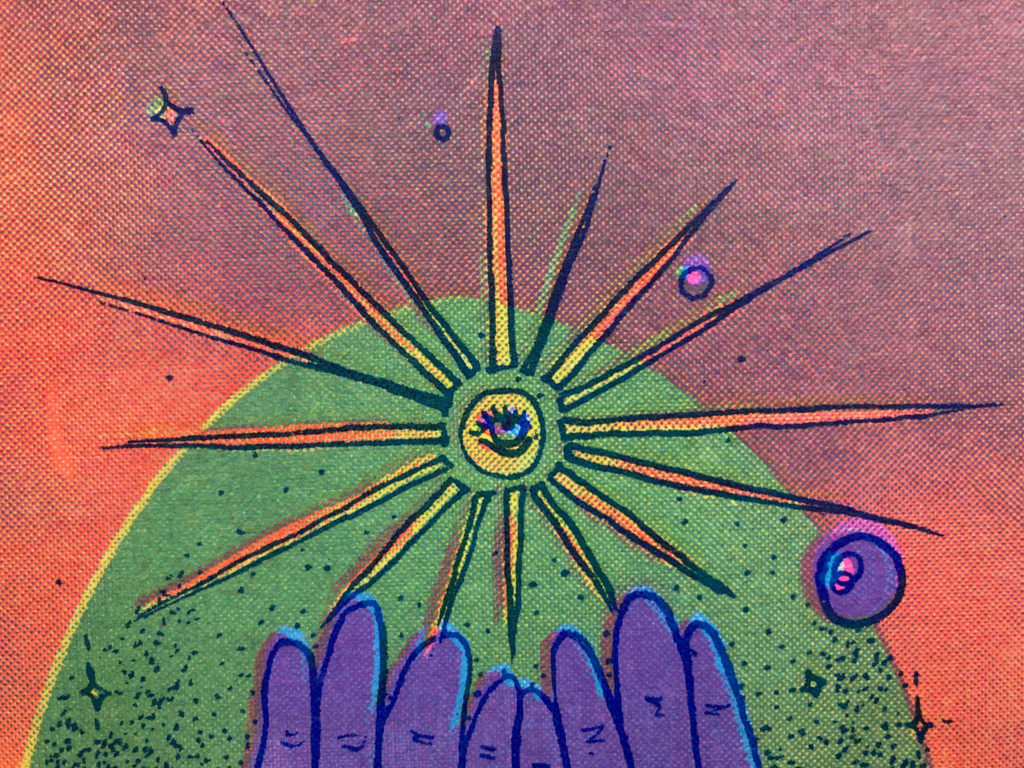
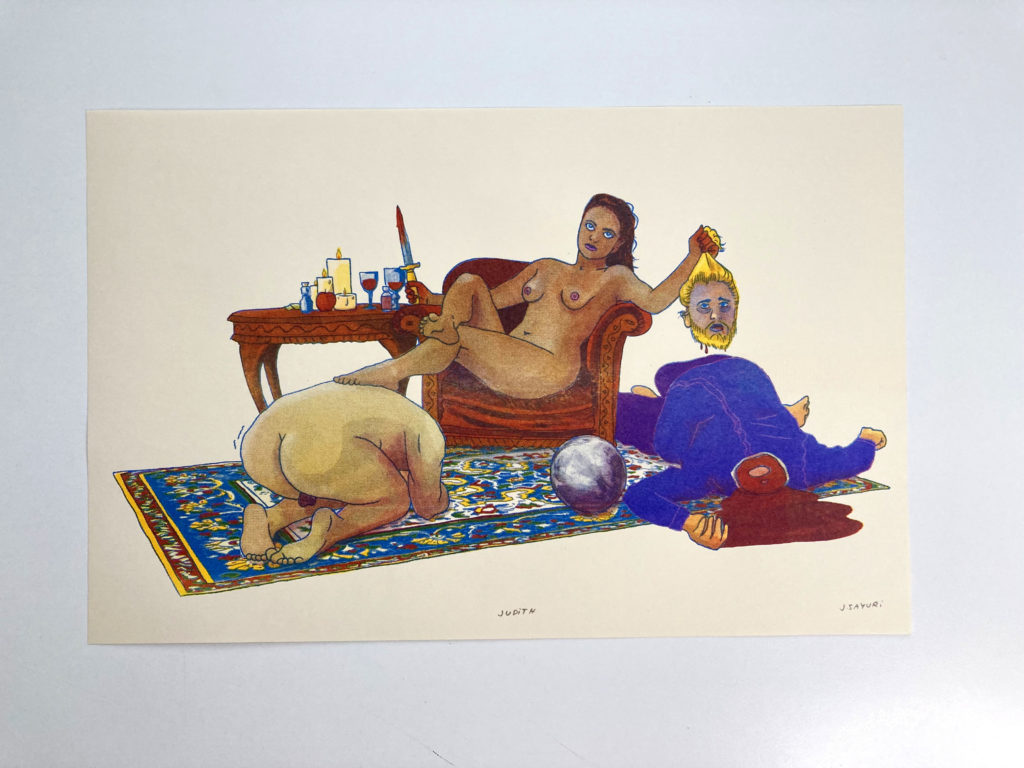
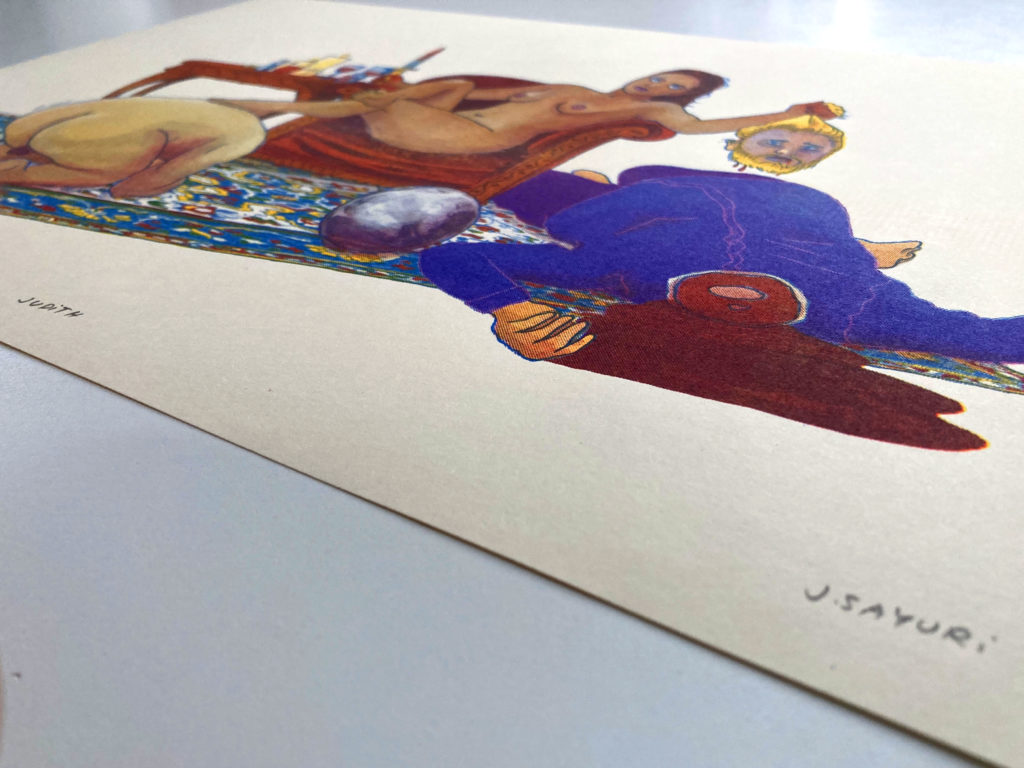
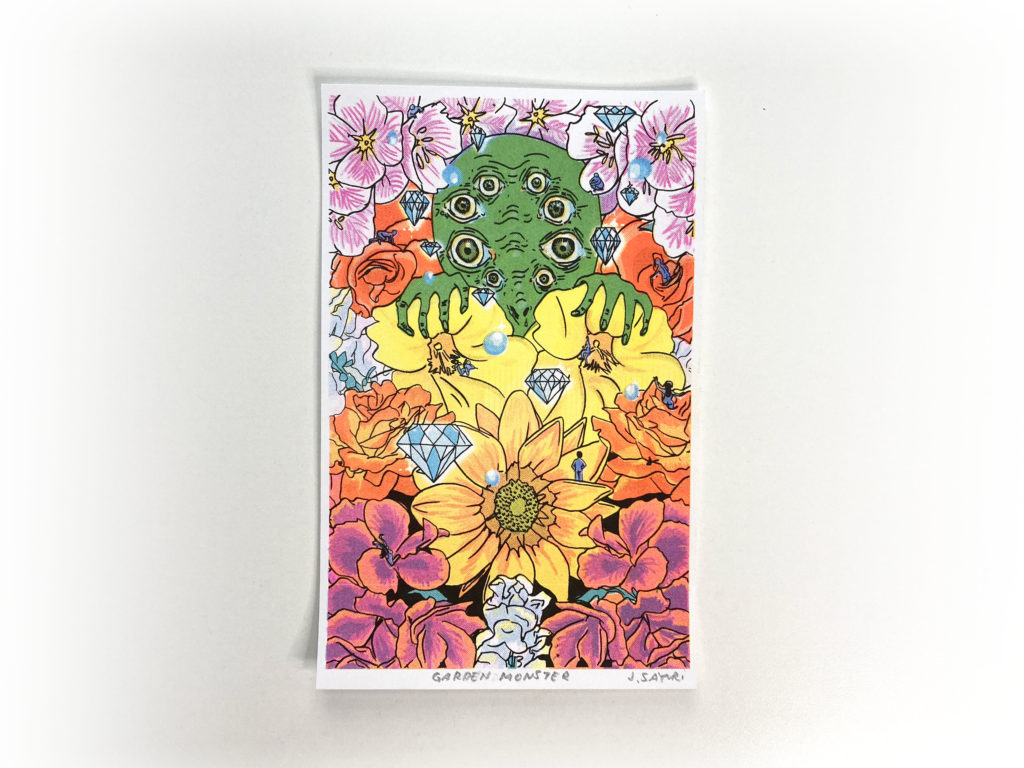
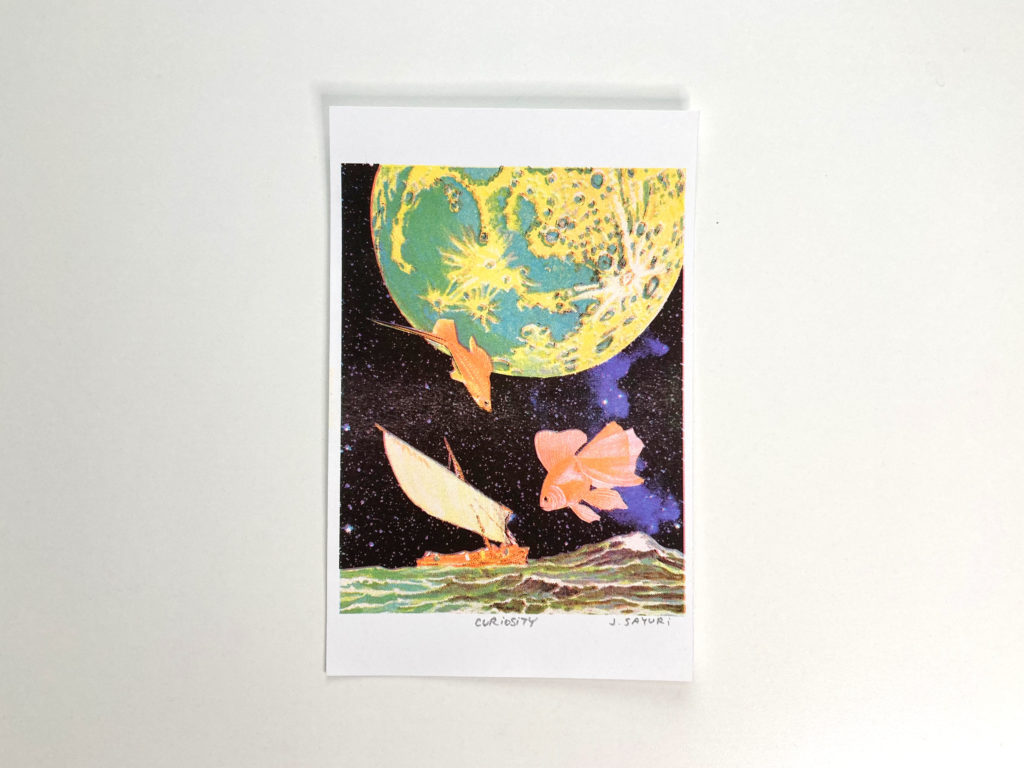
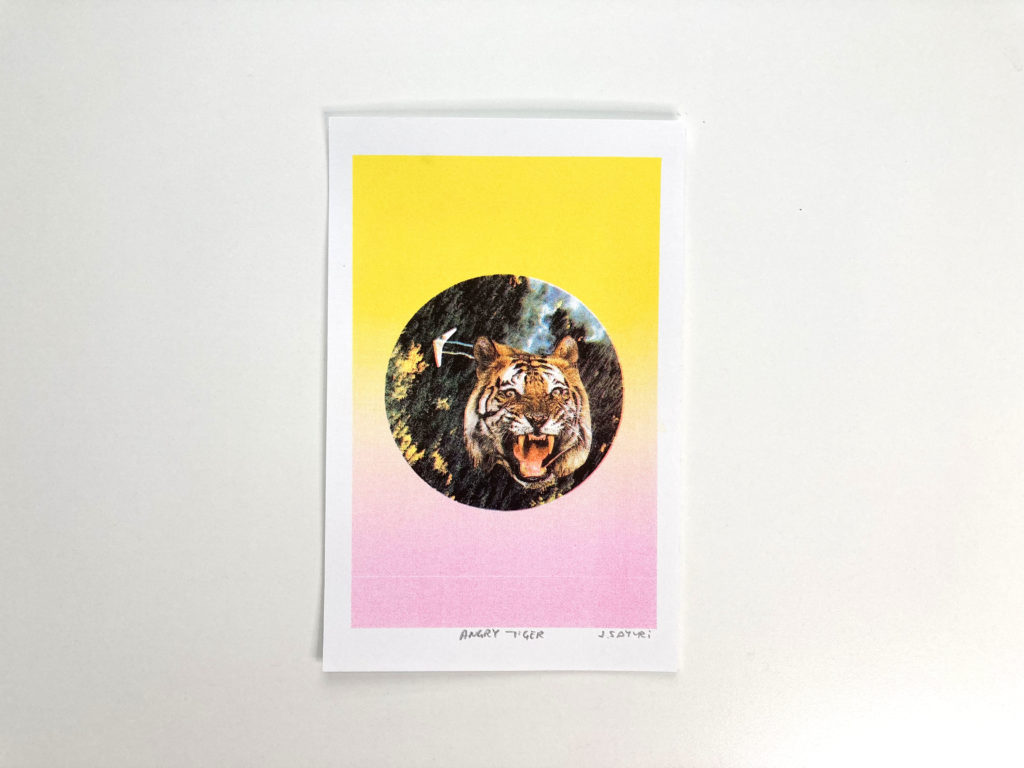
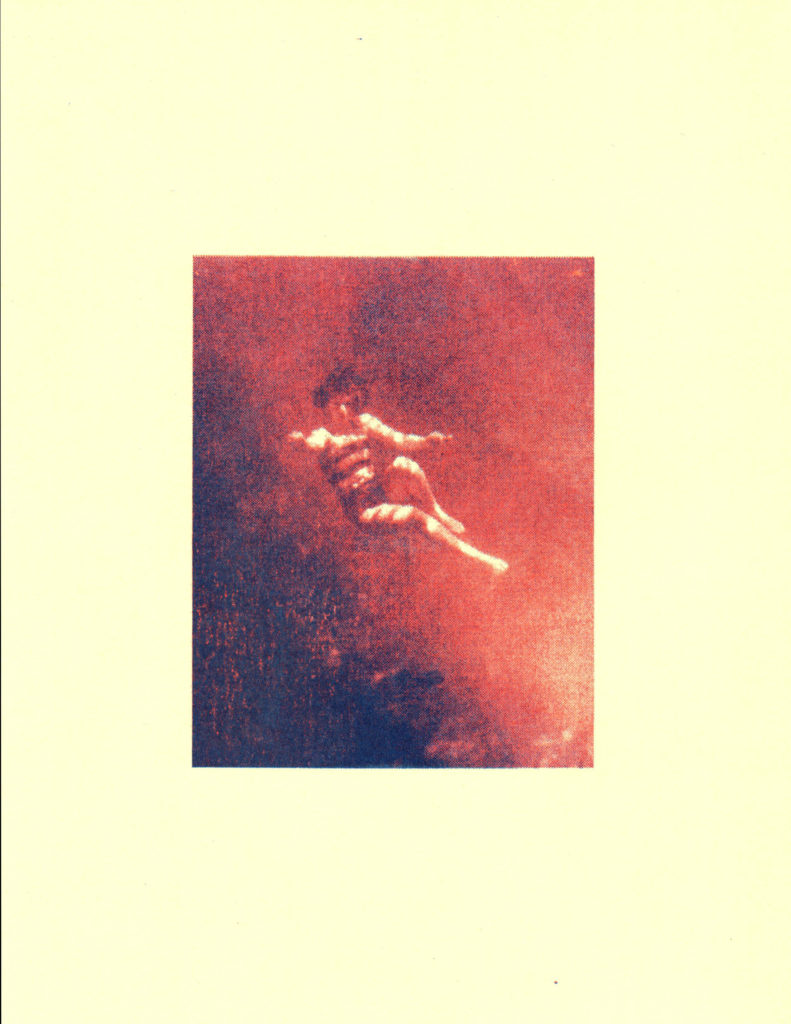
Examples of Risograph Art Prints
Here are examples of my risograph prints, but there are so many different ways to work with risograph machines. The way I specifically work with risograph is that I either use a collage that I’ve made or an illustration that I’ve created on Photoshop and separate the layers into 3 or 4 separate laterals.


Again, this is only one way to work with riso printing and there are so many different artists creating different works with this fanatical machine. Here’s a list of some of my close friends who work with risograph printing:
What Is Special About Risograph Printing?
Well if you really have to ask… There are many reasons why risograph printing is special:
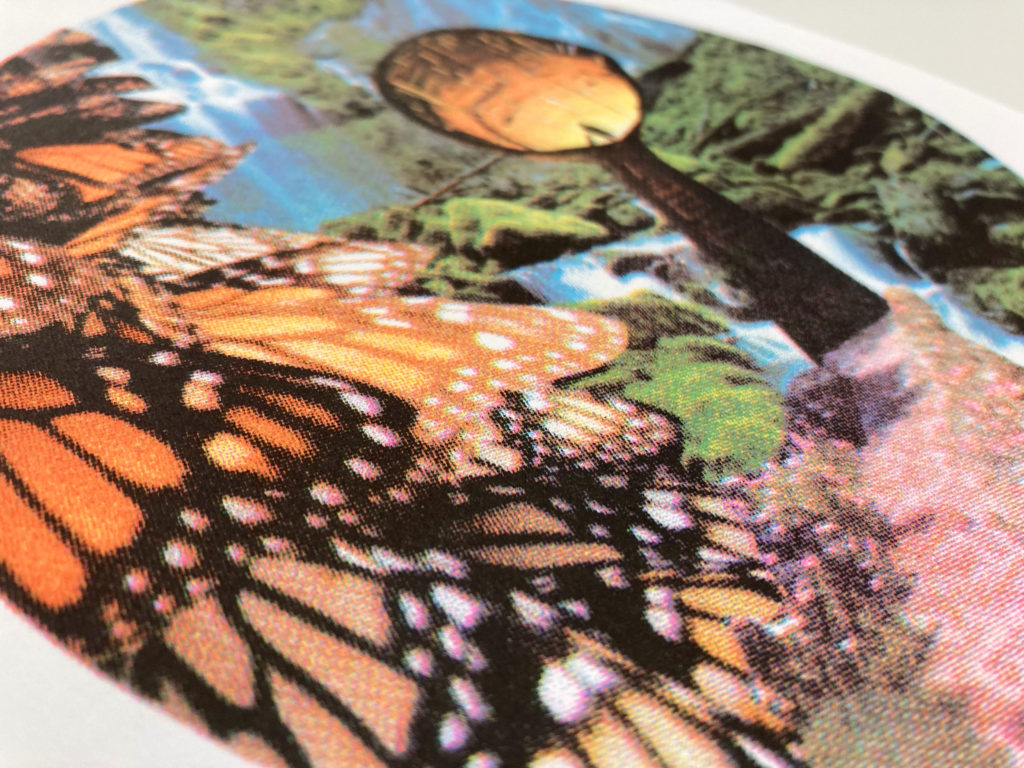
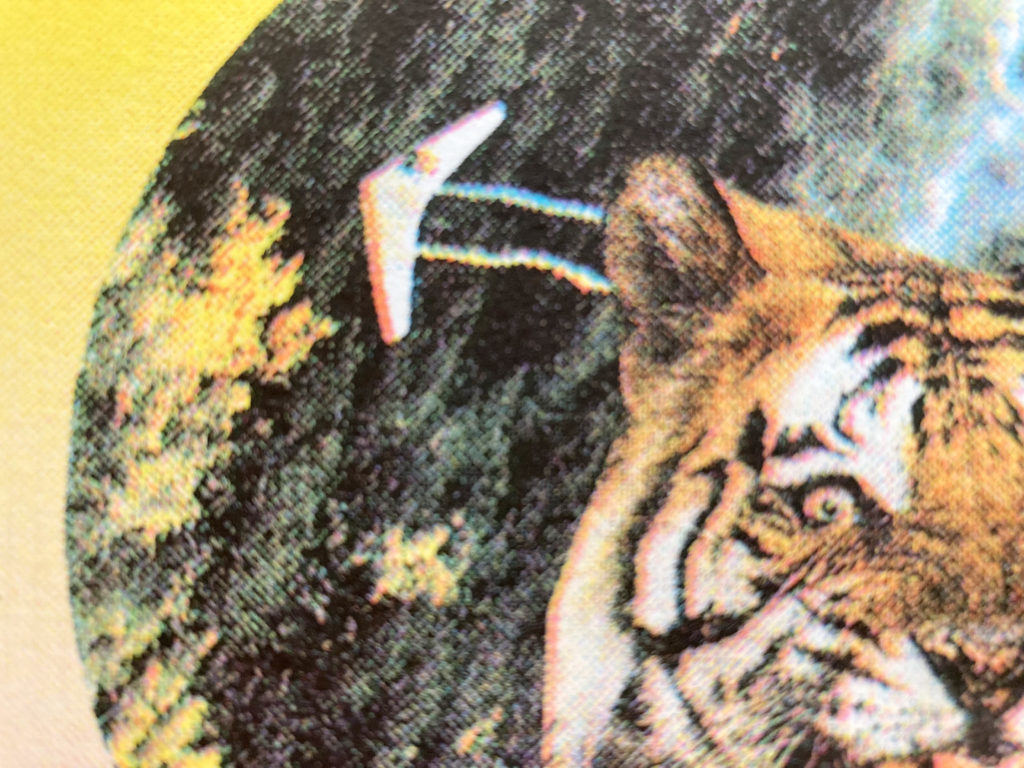
- really awesome misprints
- ability to print en masse and very cheaply
- eco-friendly soy-based ink
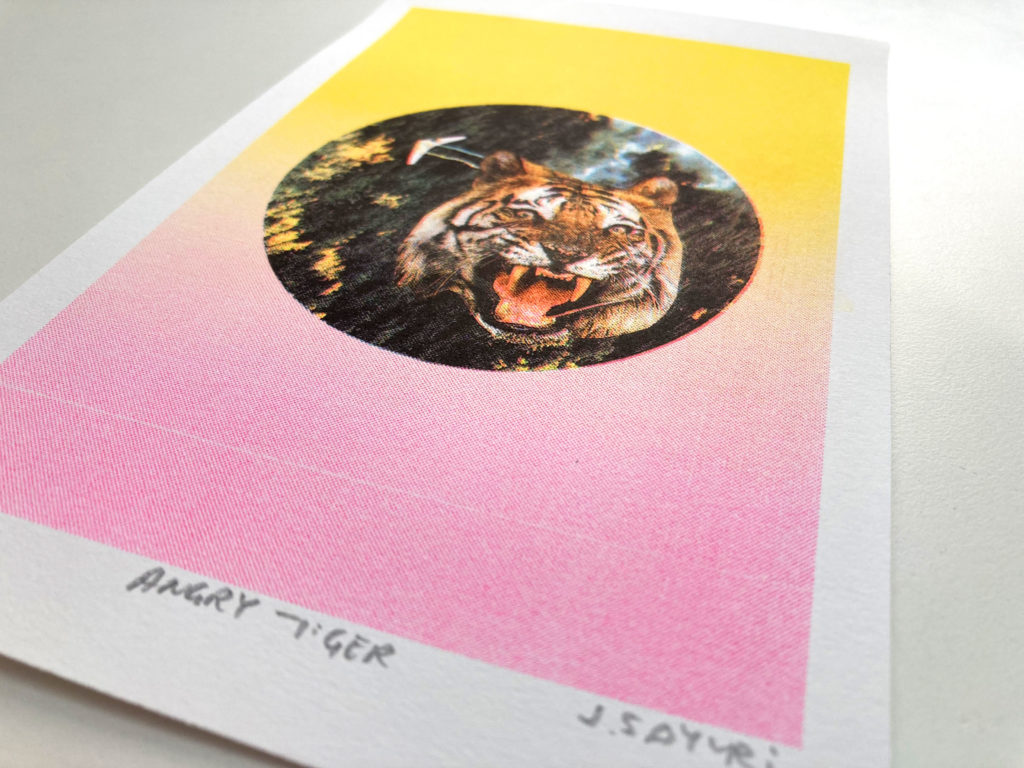
- every risograph print is unique
- ability to layer colors without having to screen print
How do you Print a Risograph?
Making a risograph print can be done a few different ways. Some artists choose to work completely analog. Others like myself choose to work digitally for the most part. Here are the steps that I take to create a risograph print based on my collages.
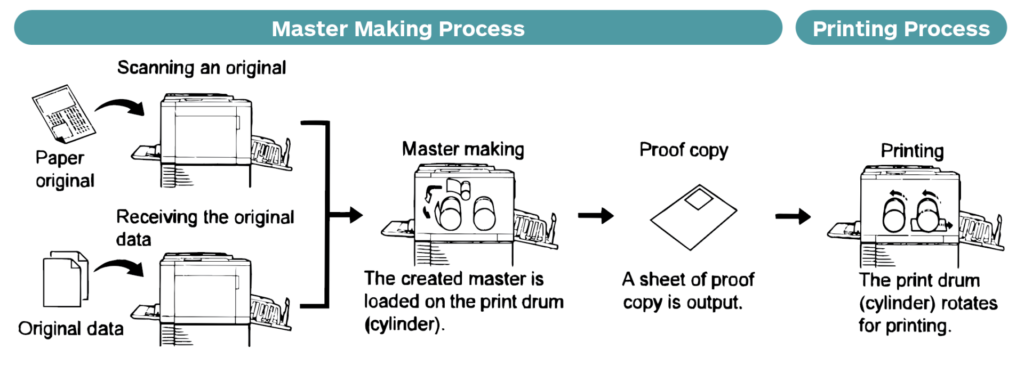
To first understand how to print a risograph, you will have to understand the underlying technology. A risograph printer works a lot like a mimeograph which works by forcing ink through a stencil onto paper. Another way to think about how risograph prints works is thinking of it as a mechanized screen printing process. Here are the steps you will probably have to follow to create your first risograph print:
- Create your original art (focus on creating high contrast, black and white images)
- Scan your original through the machine
- Risograph makes an original master by making microscopic holes in the master with thermal heads
- Master is then wrapped around a drum
- The ink is forced through the voids in the master
- The paper runs flat through the machine while the drum rotates at high speed to create each image on the paper.
It is important to note that it is possible to print a document sending it via USB or scan it through the glass scanner.
How I Print my Riso Prints
Because there are so many ways to print a risograph print, I will show you how I print mine. Collages and illustrations make up a large part of my risograph printing so I tend to focus on creating lots of layers of colors to mimic the CYMK printing process. For this reason, I tend to scan my artwork and work with my images in Photoshop to create the masters for each layer.
Once I have my masters printed out, this is what the printing process looks like:
To mimic CYMK, I use these risograph colors *in this order* Most importantly, please don’t start with Black. Here is an example of how I mimic CYMK colors:
| CYMK Color | Risograph Ink Equivalent |
| Cyan (C) | Aqua |
| Yellow (Y) | Yellow |
| Magenta (M) | Fluorescent Pink |
| Black (K) | Black |
Risograph CYMK Color Separations for Photos or Collages
Making color separations to mimic CYMK printing can be overwhelming, but it doesn’t have to be if you have the right tools. For example, if you have Photoshop, you already have all you need to do your color separations. Follow along to see how I create my color separations in Photoshop.
- Scan your art image as high res as possible (300 dpi+)
- Open your scan in Photoshop
- Adjust your image so that it is to your liking (saturation, contrast, lightness, etc)
- CREATE A DUPLICATE because once you’ve split the channels, you can’t go back to the original image
- Make sure your file is in CYMK mode
- Open ‘Channels’ under ‘Window’
- Click the little hamburger icon to the right of the ‘Channels’ tab
- Click ‘Split Channels’ (if you’re unable to split channels, make sure to flatten your image)
- This will give you 4 different documents (Cyan, Magenta, Yellow, Black) in Black and White
- Adjust each layer and focus on creating a high contrast between the whites and blacks, this will give you a vibrant final print rather than a dull or muddy one.
- Once you’ve adjusted your layers as you like, go to ‘Image’
- Click Mode and select Bitmap (this will separate the whites, grays and blacks into tiny dots that the risograph machine likes)
- Make sure to label each layer with the corresponding color.
- Print out each master and bring to your local risograph printer!
Risograph Printing History
To go to the very beginning of the risograph printer, let’s got to Japan in 1980. The first risograph printers were created by the Japanese printer and digital duplicator manufacture, Riso Kagaku. Risograph printers were originally created for high-volume photocopying and printing. Printing with a risograph is a lot less expensive than conventional photocopiers, laser printers, or inkjet printers. For this reason, you could often find risograph printers in the following places that needed cheap ways to mass product paper ephemera:
- Schools
- Churches
- Colleges
- Political campaigns
Riso Printing 101 In Conclusion
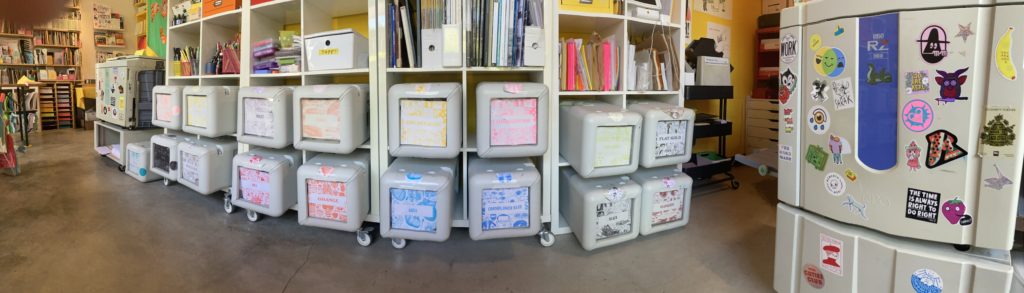
If you have any interest in risograph printing, I’d say just go for it and find a risograph printing studio near you to make it happen! I currently live in Portland, Oregon and my favorite risograph printing studio in Portland is Outlet PDX.
Here are my other recommendations for other riso printing studios in California:
If you’ve enjoyed this article and enjoy this artwork, please consider buying some of my artwork on Etsy. All risograph prints are available on my Etsy shop.